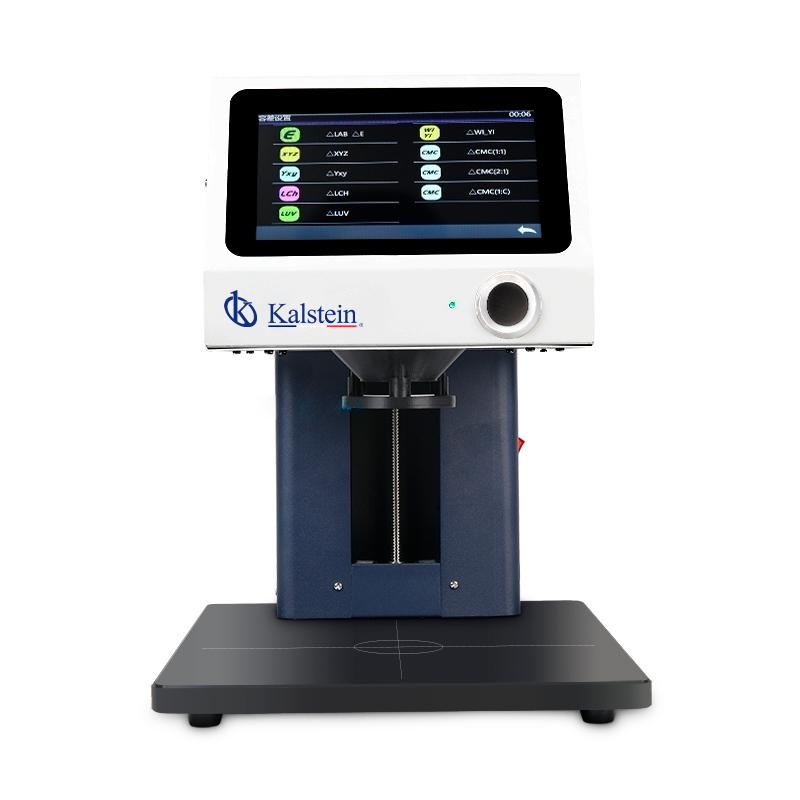
Spectrophotometers, in general, are very specialized and expensive equipment. Its conservation depends to a great extent on the way of installation and use. The environment that surrounds them and the quality of the electricity services are factors of paramount importance, so that the equipment can provide services in accordance with the specifications for which they were manufactured.
Maintenance routines that may require vary in complexity, ranging from the careful cleaning of its components to specialized procedures, which should only be performed by technicians or engineers who have received the corresponding training and have the technical information developed by the manufacturers.
The preventive maintenance of the spectrophotometer must respond to the routines and frequencies recommended by the manufacturer. Below is a group of basic routines that can be performed in the laboratory:
1. Externally clean the spectrophotometer, including the controls, screens or meters. This can be done with a piece of fine cloth – similar to the texture of the tissues – moistened with distilled water.
2. Inspect and clean the power cord.
3. Verify that the lamp is clean and in good condition. If it does not work, install a new one, with the same specifications as the original one. In modern spectrophotometers, the status of the lamp is automatically detected by the software that controls the status and operation of the equipment, making it easy to determine when the lamp needs to be changed. Make the lamp change and carry out the subsequent adjustment following the procedure recommended by the manufacturer.
4. Check the protection fuse. Before opening the fuse housing, check that the spectrophotometer is turned off and that its contacts are clean and in good condition.
5. Place the instrument in the operational configuration.
6. Press the ignition switch to allow operation for five (5) minutes. Verify the following:
a) If the lamps or pilot indicators work.
b) If the reading indicator remains at zero (0).
c) If the light of the source works.
7. Perform a leakage current test in the on and off positions.
a) Check the pole to ground and the correct polarity.
b) Check the correct polarity without ground pole.
c) Check the reverse polarity without ground pole.
8. Calibrate the front panel of the spectrophotometer following the manufacturer’s instructions.
9. Measure the sensitivity of the equipment.
10. Perform a test following Beer’s law.
11. Return the spectrophotometer to the initial configuration, if the calibration has been carried out successfully.
Good practices of use of the spectrophotometer
- Perform the calibration of the spectrophotometer, each time the analysis of a group of samples is carried out.
- Keep the lid of the sample holder closed during the measurement process, to ensure an adequate reading.
- Avoid reusing disposable cuvettes.
- Use only quartz cuvettes, to perform analyzes below 310 nm.
- Avoid the use of plastic buckets, if organic solvents are used.
- Use high quality silicate borosilicate glassware to prepare the standards. Avoid the use of sodium-sodium-glassware whenever possible, because prolonged contact with standards can permeate it and, consequently, produce erroneous results.
- Carefully clean the glass cuvettes after use. Discard those that present scratches on the polished surface.
- Use high quality reagents as much as possible. Low quality reagents can cause contamination even at very low concentrations. The diluents used – water or solvents – must be free of impurities.
- Verify that the samples or standards have not been degassed inside the cuvettes.
- Take into account, when trying to use new procedures, that not all substances comply with Beer’s law. Carry out linearity tests on the range of concentrations to be used.
Thinking of you at Kalstein, we offer you spectrophotometers of high quality and high performance, which will be of great help in your laboratory, thanks to its versatility and technology. That’s why we invite you to take a look at our spectrophotometers available HERE

